Making a quilt is an incredibly fun experience every time – well, at least for me, it is, but I believe that most people will find it fun.
However, it can be much more than that, and it can be deeply meaningful as well.
When a loved one passes away, what do you do with their clothes? Some people sell it, some throw it away, and others just keep it sitting in the closet. Everyone deals with grief in different ways, I know.
Making a memory quilt from those clothes is one way to deal with the grief and make something that will allow you to remember that person for a long time to come. It will add a special cozy element to the home workspace.
Even if you’ve never made a quilt before, I suggest that you try making a memory quilt as it can be a deeply fulfilling experience. I’ll give you the basic instructions on how to make a memory quilt from clothes, and you can take it from there.
What You’ll Need
- A sewing machine
- A thread of a color that matches the fabric
- Fabric
- Batting (cotton is good for beginners)
- Ruler
- Straight pins
- Cutting mat
- Rotary cutter
- Iron and an ironing board
Find the Right Clothes

The first thing you need to do when making a memory quilt is to pick the clothes that you want to use to make it.
I know this can be a difficult choice to make and you’ll have to strike a fine balance between sentimentality and practicability here.
You might want to use both the jeans he wore on your first date as well as the shirt you stole from him when he slept over the first time, but it might not be possible.
The best type of fabric to pick for a memory quilt is probably 100% cotton fabric, and you should pick scraps that are of similar thickness and weight.
However, since t-shirts and jeans are definitely popular clothing items, making a quilt entirely out of jersey or denim is also a good idea, though it might be a bit more difficult to do and you should definitely practice before trying it.
Look into how to sew with the fabric of your choice and practice quilting with unrelated fabric before going on to do the real thing.
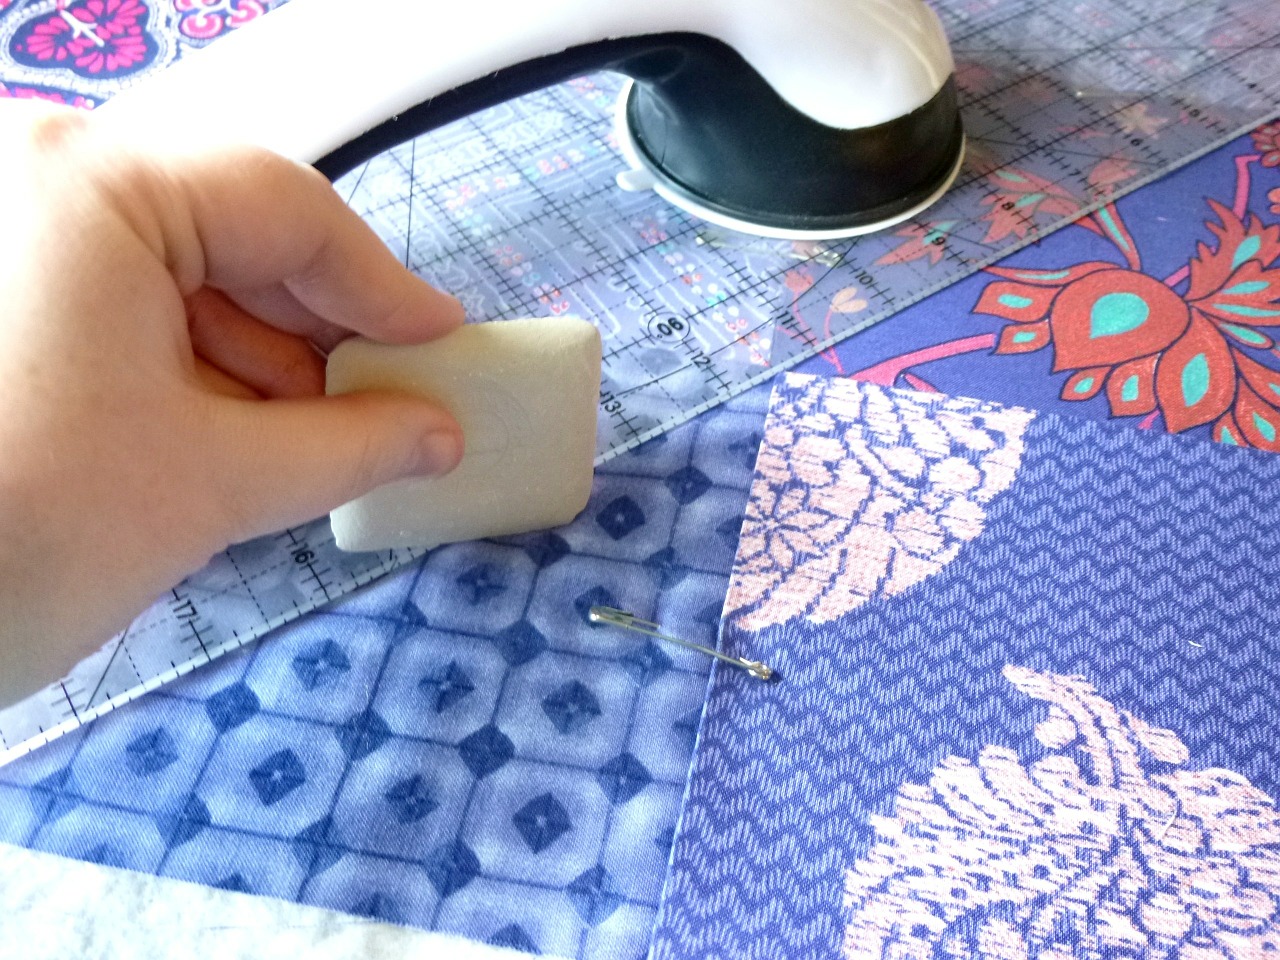
Prepare the Fabric

When you’ve chosen the fabric you want to use, you will need to prepare it for quilting, which can be quite a chore.
You will need to wash everything before doing anything else, even if it seems clean.
Next comes the ironing – you should reinforce your jersey fabrics in particular with some lightweight iron-on material that you will fuse to the back of it. That way, the fabric will hold up better when you’re quilting.
Do the same for any thinner, older fabric. That way you’ll avoid ruining it when you start quilting, and even the fabrics that aren’t quite suited for making quilts with will fit better. Just make sure to use a lighter material to avoid the fabric being crunchy.
Make sure to set your iron to the right settings though – you don’t want to burn something important by accident.
Cut the Fabric
This is another step where you have to extremely careful not to do something wrong – so plan out your quilt pattern before cutting anything.
The best thing to do is to make a simple squared quilt – that way you can get the most out of the clothing that you’re using and ensure that you won’t mess it up.
It’s not important to pick the pieces of fabric that match here – just pick the most distinctive parts to cut. Try to think which part of a t-shirt or a pair of jeans brings back the most memories and use that piece.
You can organize multiple squares into distinctive blocks of memories that you’ll separate with borders or make larger squares that you won’t separate at all. It’s all up to you and what you think works best.
Now you can start sewing and making your very own memory quilt! If you’re completely new to sewing though, just check out some of the other articles on the site for guidelines on how to get started.
Once you get the hang of it, you can make a quilt like the ones featured on the Humpine Quilt And Blankets Store!
The Final Words
So, that’s about it – now you should know how to make a memory quilt. I know it’s important to get it right the first time when you’re doing something like this since you won’t have a chance for a do-over.
I would always suggest that you make a practice quilt or two before going on to do the real thing – just in case you’re not sure that the design will turn out properly the first time.
If you have any further questions about the process, feel free to go down into the comments and ask – I’ll help you out as best as I can.
Good luck making your unique memory quilt and I’ll see you next time.
Find a Home-Based Business to Start-Up >>> Hundreds of Business Listings.