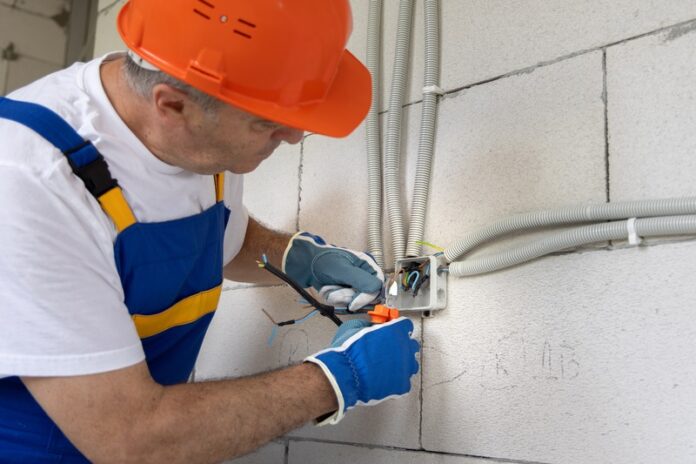
Water damage to electrical conduits is a serious threat that can lead to electrical system failures and dangerous safety issues.
When water gets into your wire conduit systems, it starts a process of deterioration that can result in expensive repairs and increase potential hazards. So, proper sealing is necessary to prevent such incidents.
In this article, we’ll discuss how to seal electrical conduits from water effectively. We’ll cover all the steps you need to take, from inspection to testing the seal, ensuring that your conduits remain waterproof.
Let’s get started!
1. Thorough Inspection
The first step in sealing electrical conduits is to conduct a thorough inspection. Here, the aim is to identify any visible damage, cracks, or gaps in the conduit.
Pay special attention to:
- Conduit entrances: Look for weak points where conduits enter buildings or connect with other systems. These areas are often susceptible to leaks.
- Conduit penetrations: Check areas where the conduit passes through walls or floors and ensure that these points are sealed properly.
- Conduit runs: Review long stretches of conduit, especially those that are horizontal or underground conduits that are more likely to accumulate water over time.
Check for any damaged or frayed wires inside the conduit. Such wires can cause short circuits and other electrical problems. Also, check for signs of moisture or water damage, such as rust or corrosion— especially for metal conduits.
Once you identify the problem areas, you can move to the next step.
2. Intense Cleaning
Before you can seal the conduit properly, you need to make sure the surface is clean. Think of it like painting – if there’s dirt or dust on the surface, the paint won’t stick well. The same thing happens with sealant on a dirty conduit.
First, take a cloth and get it slightly damp – not dripping wet, just moist enough to pick up dirt. Wipe down all the outside parts of the conduit, just like you’d clean a counter or table. Don’t forget to get into the corners and edges.
For deeper cleaning, use a pressure washer if the conduit is large enough. This is effective for metal conduits or any surface that can withstand the pressure.
After cleaning, you must let the conduit dry completely. Otherwise, the leftover water may weaken the sealant’s adhesive properties, making it ineffective.
Remember, when handling electrical wires and cables, it’s important to prioritize your safety. So, ensure you turn off the power source and that you are properly geared up before you get started to prevent electrical hazards.
3. Choice of Sealant
The choice of sealant is crucial for ensuring the long-term performance and safety of your electrical conduit systems. Remember, the aim is to achieve a watertight seal.
The sealant you choose needs to work well with both the conduit material and the environmental conditions it faces. So, a conduit in a humid basement needs a different kind of protection than one exposed to direct sunlight and rain.
Also, the right sealant needs to resist whatever specific environmental factors it will face – for example, UV rays, extreme temperatures, chemical exposure, or constant moisture.
Chemical compatibility between the sealant and the conduit material is crucial too. Some sealants might react with certain materials over time, causing the seal to deteriorate faster.
So, here are some common types of sealants to consider:
- Duct seal: This is a flexible putty that is easy to apply. It adheres well to conduit walls and can fill gaps effectively.
- Silicone caulking: If you’re working with this conduit seal, ensure that it is specifically designed for outdoor use.
- Foam sealants: Closed cell foam sealants are great for filling larger gaps and provide excellent insulation against water ingress.
Each sealant has its advantages. For instance, a spray foam can expand and fill uneven surfaces, while a duct seal is easy to shape and mold around the conduit. Be sure to properly research the effectiveness of each one before making a choice.
4. Assemble the Tools
Before starting any sealing work, ensure you have all the tools necessary. It’ll save you from a lot of back-and-forth during the sealing process.
You’ll need the following:
- Sealant (duct seal, silicone caulking, or spray foam)
- Caulking gun for easy application
- Putty knife for smoothing out sealant
You’ll also need rags for cleaning excess material and protective gloves to keep your hands clean.
When all tools are readily accessible, you can then focus on the task and work more effectively.
5. Application of Seal
This next step on how to seal electrical conduits from water is very important.
You must get the application process right if you want your sealant to be effective. Poorly applied seals are more likely to have gaps which make it easier for water to get in.
That said, follow these steps for the best results:
- Apply sealant around the area where cables enter the conduit.
- Use a putty knife or your fingers to apply duct seal in any cracks or holes. Ensure that it fills the gaps to prevent penetration.
- Apply your sealant generously around the edges of the conduit. Smooth it down for an even finish. If you choose a spray foam, make sure to hold the can about 6 inches away and apply until it overflows slightly from the gaps. This will ensure that the foam expands to fill the area completely.
- Avoid using the sealant excessively. Too much sealant can prevent proper adhesion to the surfaces, weakening the seal.
Also, overapplied sealant can be prone to cracking and peeling, especially in areas with temperature fluctuations. And, after the seal has cured, it’s even more difficult to remove the excess.
Each sealant will have specific curing times. Follow the manufacturer’s instructions for the best results. It’s also best to reinforce your sealant with an electric conduit sealing bushing which gives you a more secure seal between the conduit and the device it’s connected to
6. Testing of The Seal
Testing the seal is a critical final phase that verifies the effectiveness of your waterproofing work.
The testing process should be systematic and thorough enough to ensure complete protection of your electrical system.
Here’s what to do:
Run a visual inspection to identify gaps, cracks, or areas you may have missed. During this inspection, examine every sealed area under good lighting conditions. Pay special attention to corners, joints, and transitions between different materials where gaps commonly form. Check for areas where the sealant appears thinner or where it may not have bonded completely with the conduit surface.
If safe, pour a small amount of water around the sealed areas. Ideally, the water should bead up and roll away rather than finding paths to penetrate. You should check periodically for water ingress over time, especially during rainy seasons.
If you discover any problems during testing, address them immediately. Small issues can often be repaired with minimal intervention if caught early. But, when ignored they inevitably worsen and can lead to significant damage.
Understand that testing isn’t just a one-time task but an ongoing process. So, schedule a periodic maintenance check— weekly, monthly, or quarterly— to ensure the long-term integrity of your electrical conduits.
Conclusion
Knowing how to seal electrical conduits from water is an essential skill for anyone working with electrical systems. This post provided a step-by-step guide for doing that.
First, run a thorough inspection to identify the problem area. Clean these areas thoroughly before applying the seal. Also, do some research to ensure you’re choosing the right sealant based on environmental factors and other specific needs. Then, assemble the right tools. Next, apply the seal carefully and test to ensure you did a good job.
Remember, keeping your conduits safe from water is crucial for preventing damage. So, follow this guide to applying conduit sealants and protecting your electrical infrastructure. If you are not sure you can always call electrical contractors.
For long-term performance and safety, always choose industry-approved sealants, follow NEC guidelines, and consult licensed electricians when handling high-voltage or outdoor conduit systems. Your proactive approach ensures compliance, minimizes risk, and extends the life of your electrical installations.
Find a Home-Based Business to Start-Up >>> Hundreds of Business Listings.


