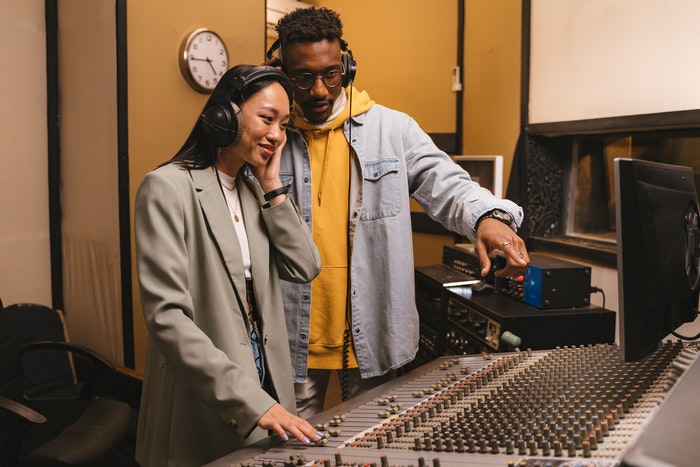
If you want to break into the music industry or record songs for social media, having superb recordings of well-written songs is a crucial advantage. As soon as you start recording music at home or even in a professional studio, you discover it is not as simple as it appears. It requires a lot of effort and experimentation to get it just perfect.
Many people believe that music production is a costly undertaking, and there are many misconceptions about the process. However, this isn’t necessary. Utilize websites like Online Audio Converter, which is an inexpensive and quick solution. We collated tips from experienced musicians to give you a good first singing session in this article.
Warm Up
Warming up your voice makes the difference between a good performance and a fantastic one. While several technologies are available now that fix a subpar vocal track for mixing, you save a lot of time and effort by capturing the greatest raw performance possible. Considering connecting with other artists at http://artent.io to practice and warm up together.
Practice Recording Music Yourself
A simple home studio is now a lot less expensive and time-consuming to build, thanks to technological advancements. It is essential for vocalists to record themselves. Using a microphone to record the voice lets you hear things you’ve never heard before. Of course, we all know that our voices sound very different from how we perceive them in our heads. If you don’t know how your voice sounds when you record it, you have difficulty getting it right the first time. Just an online editing software, an audio interface, a microphone, and headphones are all the equipment needed for recording.
Go in Completely Dry
It is tempting to add reverb and other effects to record your vocals. However, it is best to record your vocals “dry” (no effects added). Recording a “dry” signal provides you with more alternatives when it comes to mixing your vocal track. If you apply an effect to a track while recording it, you are stuck with it and unable to change it later.
Examine Your Recording Space
To help you focus, wear headphones and experiment with different recording locations to determine what works best for you. A room with a well-balanced tone is frequently preferable to one that is dead at some frequencies but boomy at others. A place deemed a “nice setting” for mixing isn’t always the best place to record acoustic instruments, which require some room interaction to sound their best.
When It Comes to Microphones, Less Is More!
When you utilize more than one microphone on the same sound source, you get all kinds of strange phase cancellations. When microphones are not properly phase synchronized, and they cancel each other out, resulting in a thin, nasal, and unpleasant sound.
Instead, use only one microphone, and pay close attention to what you hear. If you don’t like the mic’s sound, move it around until you reach the sweet spot. To phase align the overhead mics, make sure they’re at the same distance from the snare’s center. Use a string or a mic cord to measure the distance.
Turn Down the Volume to Record Your Vocals
Many people make the mistake of recording too loudly with the mic pre-amp, resulting in clipping. This is frequently due to their fighting the loudness of the music track they are recording over, which is already excessively loud. The solution is to lower the volume in your software so it peaks at -20 to -30 dB, and then lower the strength of pre-amp so that vocals peak at -20 dB. You want to turn up the volume on your headphones at this point to ensure that you hear everything.
This gives you enough headroom for mixing, so you relax knowing you’re not overpowering your microphone or A/D converters while still having enough room to mix. This refers to as gain staging.
Mind the Wind from Plosives
It quickly damages a recording, even with a pop-screen on the mic. Tilt the microphone back a few degrees to avoid this, so the diagram isn’t right in front of your mouth. Practice singing “P” sounds with your hand a few inches away from your lips. You’ll learn how to enunciate the plosive without having your breath hit your hand.

Make a Bunch of Recordings
Making many tape versions is crucial for all first-timers in music recording (or demo versions). It’s easier to edit music elements separately and combine them than to re-record your complete song. Furthermore, you won’t control every instrument playing while singing or performing the piece’s primary theme. You save a lot of time (and money if you’re renting a studio) if you make many recordings.
Mixing
Organizing is important when mixing. Use software to assign each line to different tracks, such as vocals, lead guitars, rhythm guitars, drums, and background vocals. You identify errors when you hear them this way easily.
Balancing channel levels, panning, equalization, compression, reverb, and automation are common tasks performed during mixing. Without these steps, you’ll almost certainly wind up with an incoherent sound.
Vocal Health and Rest
Before a vocal recording session in a studio, be well rested as with anything important. Make sure to get at least two good nights of sleep before your session. It’s also crucial to keep your voice in good shape. Avoid talking too much or practicing too much two days before the session. Dehydration, reflux, and excess mucus occur with consumption of alcohol, coffee, and dairy products, so avoid them to help your voice. Also, remember to drink plenty of water!
Conclusion
Recording music is a skill that improves with practice, just like most others. Because of this article, you now have a solid understanding of how to record your vocals and your first song. Finally, enjoy yourself during the recording process.
Find a Home-Based Business to Start-Up >>> Hundreds of Business Listings.


