Coordinate measuring have been around since the 1960s, when they were early 3D devices with a simple XYZ axis display. Since then, huge strides have been made in industrial metrology. Mechanically, coordinate measuring machines haven’t changed much since the 1970s, but software and new metrology machines like portable arms, laser scanners, and vision systems, as well as equipment used in coordinate measuring machines like probing systems, have rapidly evolved. They have ushered in a new era of precision measurement and quality manufacturing, and now coordinate measuring machine companies have been developing new machines and software that can achieve higher levels of automation and integrate into cell manufacturing.
Coordinate measuring machines are just the tip of the iceberg when it comes to metrology machines, and even they come in dozens of different makes as well as a variety of types and sizes suited to different purposes. Here is a quick guide to understanding the most common types of coordinate measuring machines and related equipment that can dramatically improve your shop’s ability to measure components efficiently and accurately. Before you buy a coordinate measuring machine, learn about the types of CMM machines that are available and how best to use them.
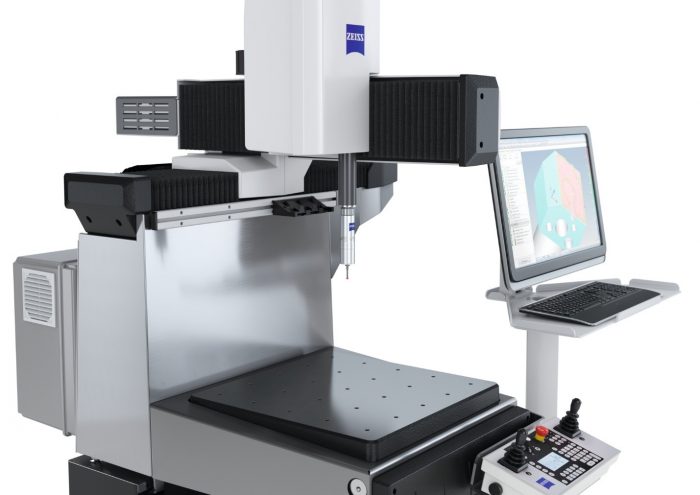
Bridge – The basic coordinate measuring machine, it is the best balance between reliability, repeatability (the spread of results when the same machine measures the same component), precision, and price tag. They use air bearings along the x-axis, a.k.a. the bridge, and a drive side on the y-axis. You can also find hard bearing types from metrology dealers like Canadian Measurement Metrology (CMM), which can be used on shop floors without controlling the air quality.
Horizontal – Designed to measure extremely long or tall parts, horizontal coordinate measuring machines offer superior cost vs. volume benefits. Often found in automotive industries, they also offer a lower cost of installation compared to the gantry, which requires a foundation system.
Gantry – These offer unmatched precision when measuring extremely large parts, beyond even the precision of laser trackers and scanning systems (which offer more flexibility than precision). The large coordinate measuring machines make it easy to load components by crane or lift truck and they are extremely durable. A gantry is the tool of choice used by metrology house CMM when it performs contract inspections at its own facilities.
Portable Arms – A versatile and portable tool, portable arms like ROMER have a huge measuring span thanks to their ability to “leap frog,” integrating multiple inspection set ups to seamlessly inspect large components. They can easily be packed up and moved without having to be recalibrated, whether inside your facility or between facilities. A portable arm will radically reduce your inspection times and fit a wide range of conditions and component sizes.
Laser Scanners – When it comes to speed, there is no metrology machine that outperforms laser scanners. These can be integrated into coordinate measuring machines or portable arms to collect tens of thousands of data points. They require advanced software to handle all of that data but they are driving the push toward automated inspection and real time data results.
Efficient inspection demands that you have the right equipment for the job. Do your research before you make a major investment in inspection technology.
Hundreds of Business Opportunities – Visit the Home Business EXPO
Find a Home-Based Business to Start-Up >>> Hundreds of Business Listings.


